
How to Create Email Campaigns in PawnCRM
Email campaigns are one of the most effective ways to reach your contacts at scale. PawnCRM makes it easy to create, design, and send professional email campaigns without leaving your CRM. Whether you are announcing a promotion, following up with leads, or sending a newsletter, the entire workflow takes just a few steps.
In this guide, we will walk through every step of creating an email campaign in PawnCRM, from setting up campaign details to choosing a template, previewing your message, and hitting send.
What You’ll Need
- An active PawnCRM account with email campaign permissions
- A connected email provider (SendGrid, Mailjet, or SMTP) configured in Settings > Integrations
- A contact list or saved segment to send to
- Your campaign content ready (subject line, body text, or HTML template)
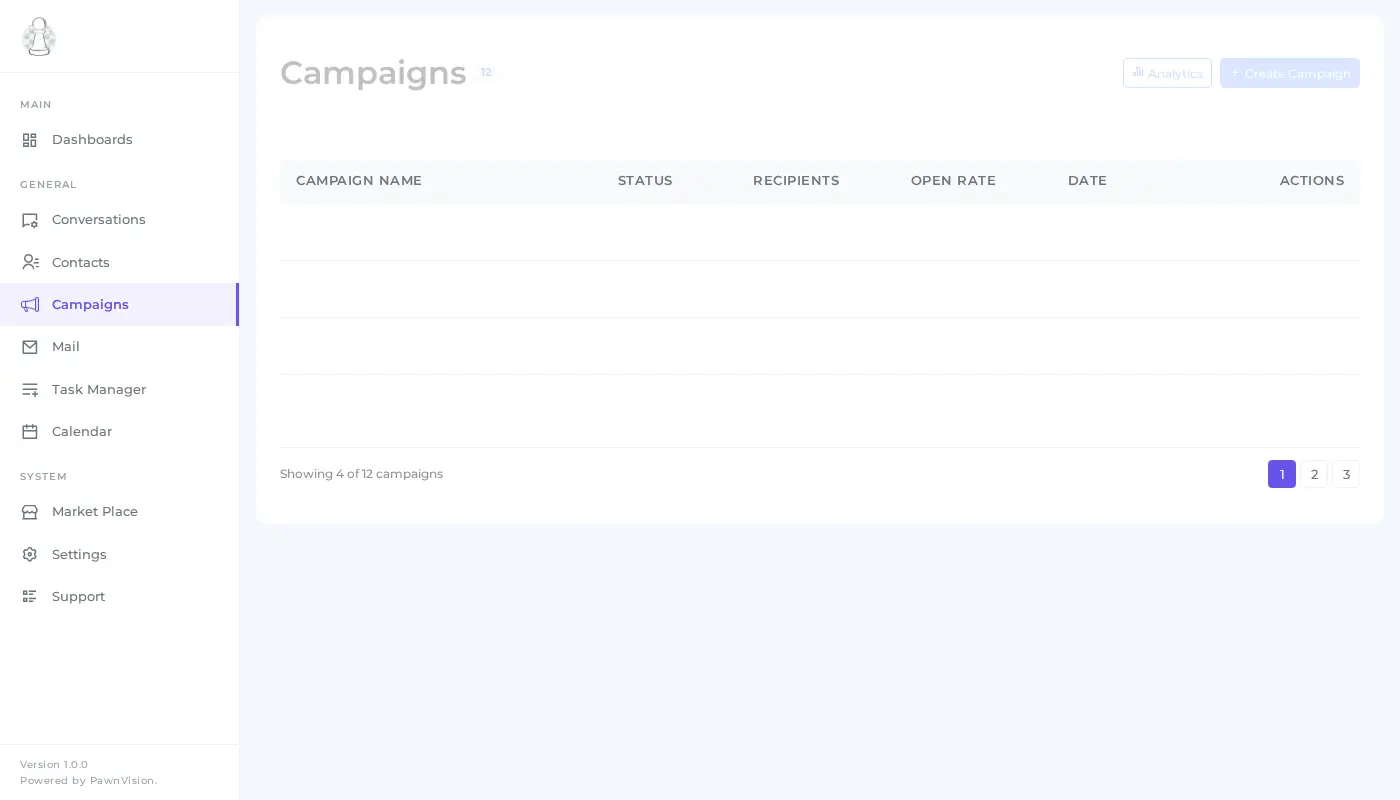
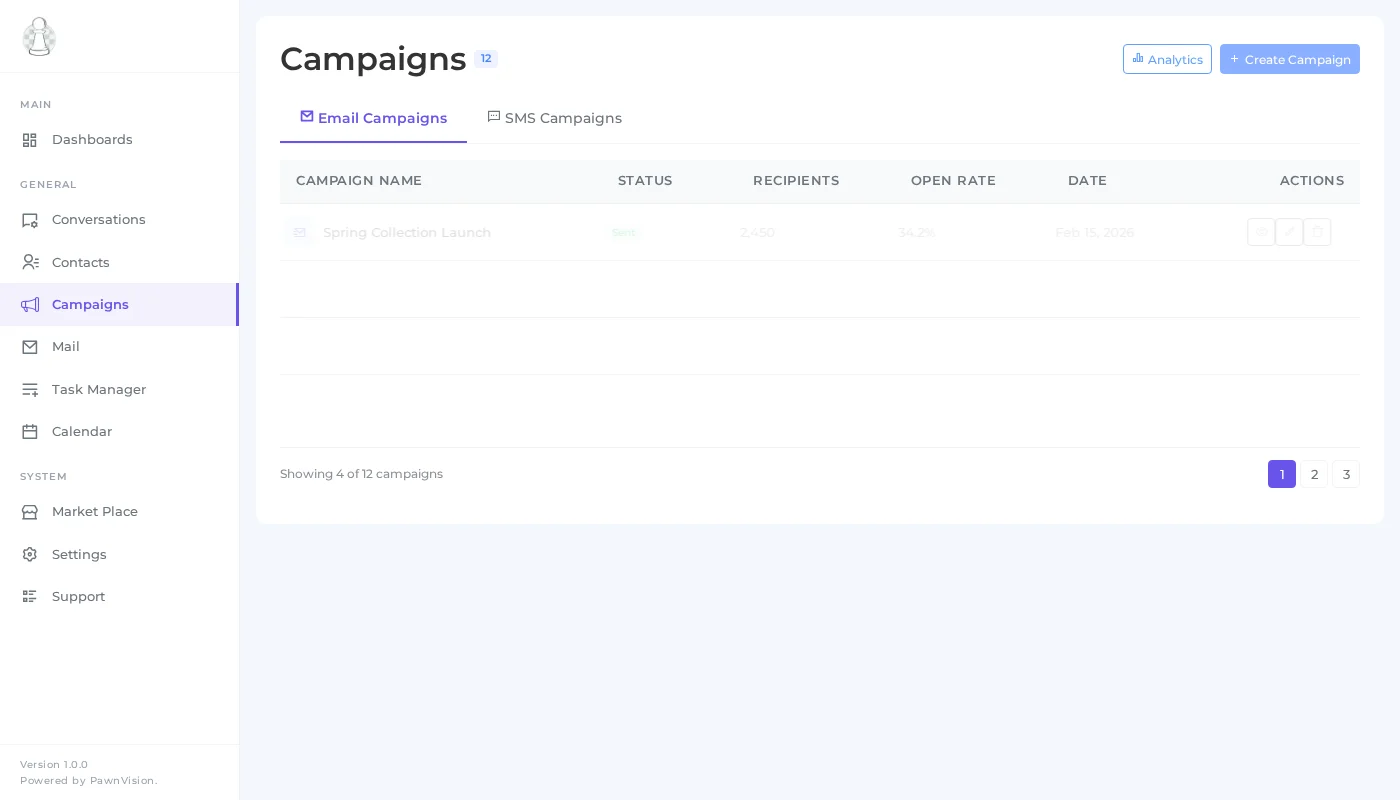
Step 1: Browse Your Campaigns
Start by navigating to the Campaigns section from the sidebar and selecting Email Campaigns. The campaigns hub gives you an at-a-glance view of all your past and current campaigns. Each row shows the campaign name, status, recipient count, open rate, and click rate so you can quickly gauge performance.
From here you can filter campaigns by status, search by name, or click Create Campaign to start a new one.
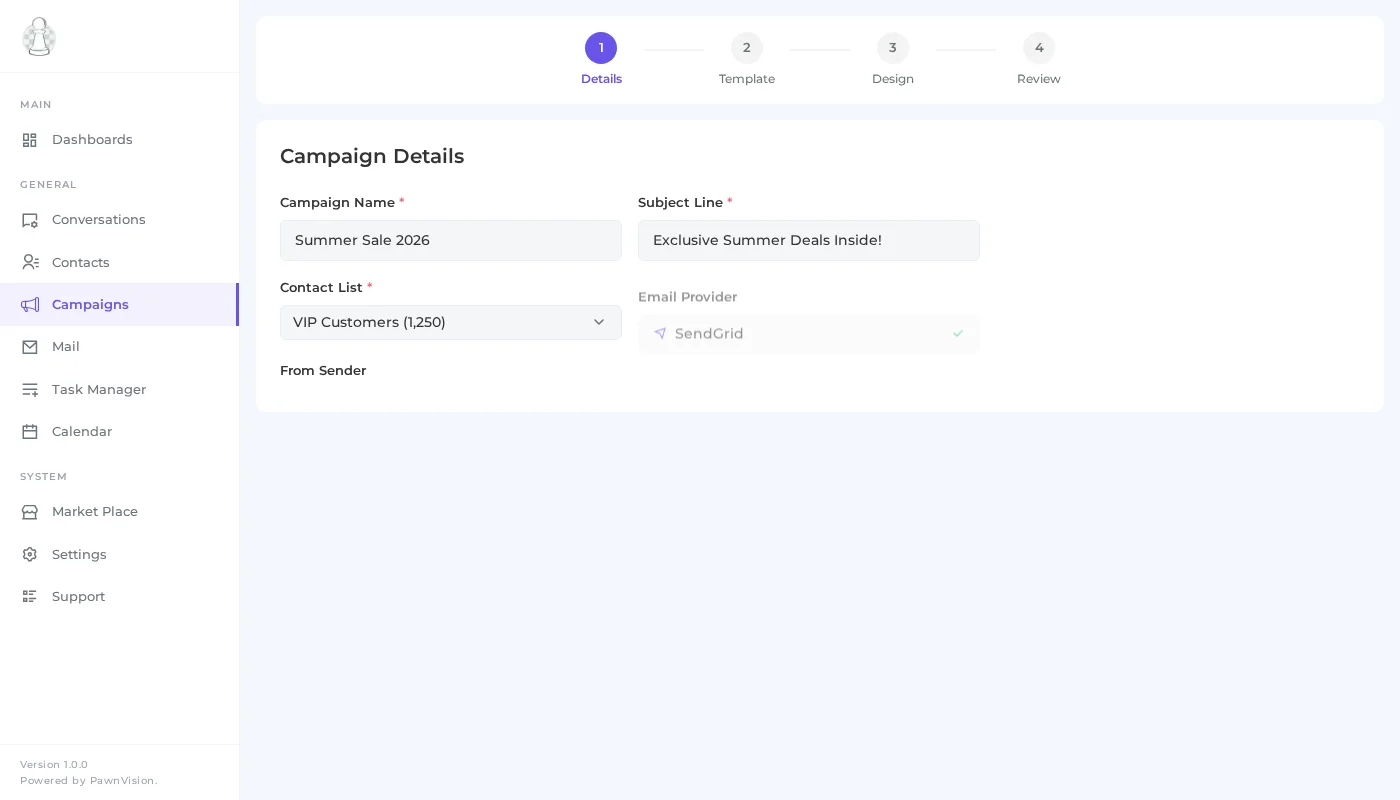
Step 2: Set Campaign Details
The first step in creating a new campaign is filling out the details form. You will need to provide:
- Campaign Name – An internal label to identify this campaign in your list
- Subject Line – The subject your recipients will see in their inbox
- Contact List – Choose which contacts or segments should receive this campaign
- Email Provider – Select the connected provider to send through (SendGrid, Mailjet, or SMTP)
Take your time with the subject line. A clear, compelling subject can dramatically improve your open rates. PawnCRM lets you preview exactly how it will appear before sending.
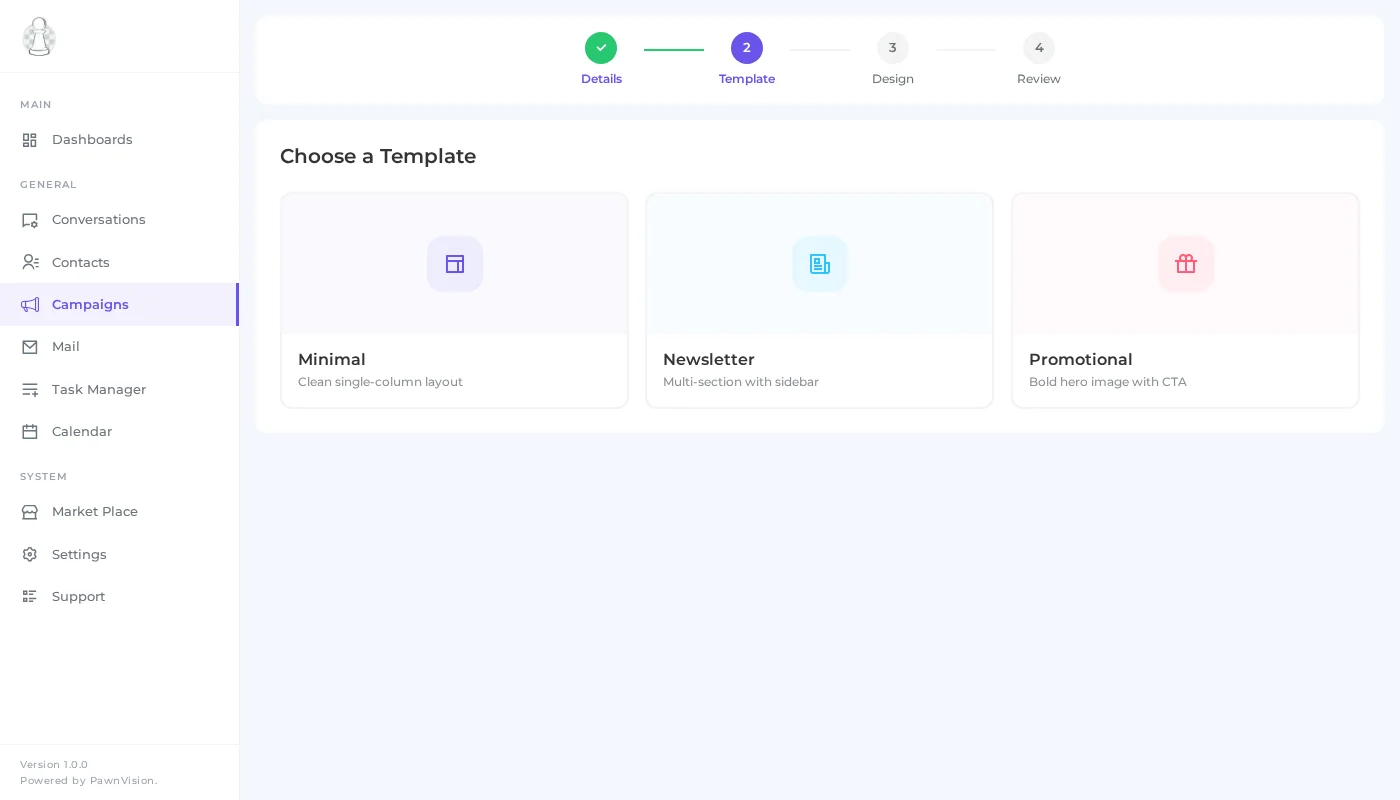
Step 3: Choose a Template
Next, select a design template for your email. PawnCRM offers several professionally designed options:
- Minimal – Clean, text-focused layout ideal for announcements and updates
- Newsletter – Structured layout with sections for multiple stories or links
- Promotional – Bold, image-rich design for sales and special offers
Click on a template to preview it. Once selected, you can customize the content in the built-in email editor powered by GrapesJS. Drag and drop blocks, edit text inline, and adjust colors to match your brand.
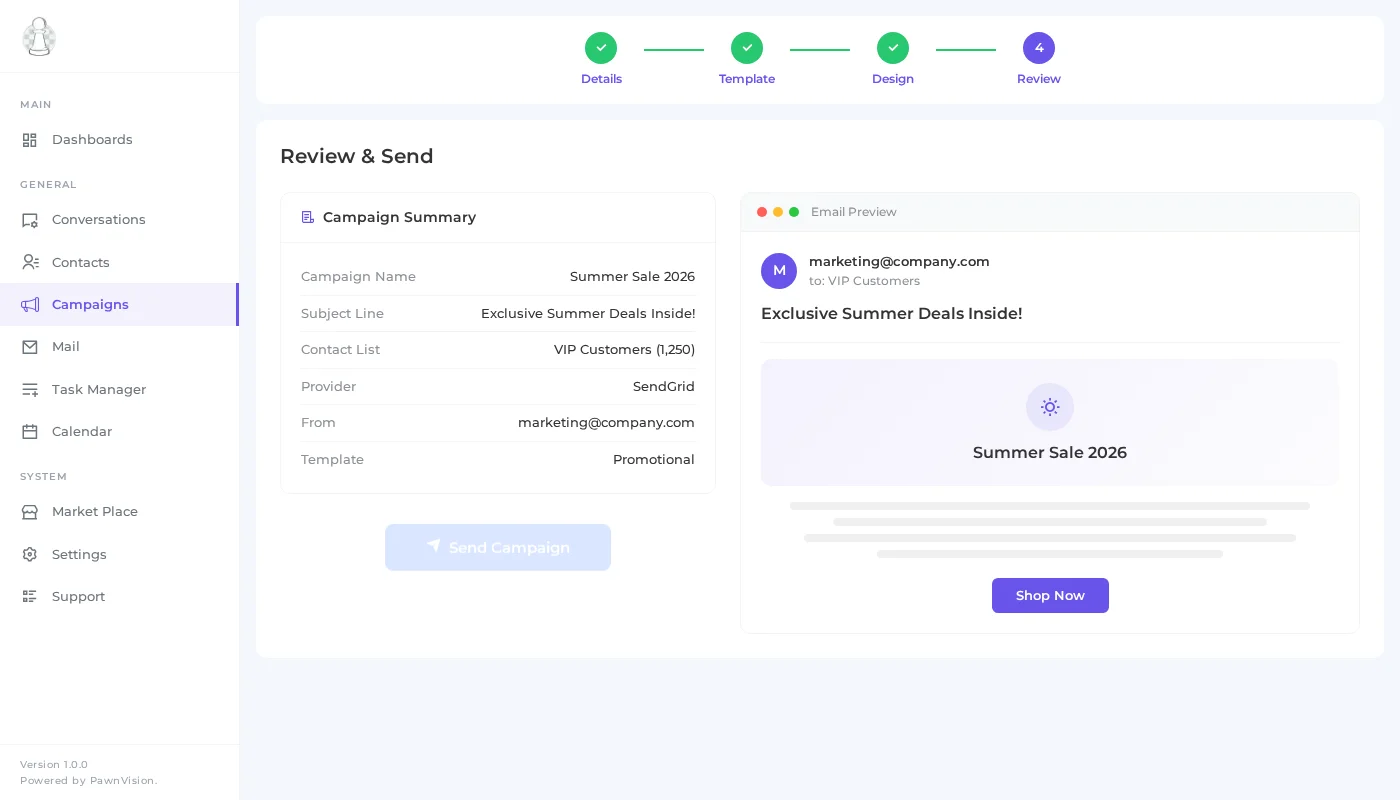
Step 4: Review and Send
Before sending, PawnCRM presents a review screen where you can verify every detail of your campaign:
- Campaign summary – Name, subject, recipient count, and selected provider
- Email preview – A rendered preview of your email exactly as recipients will see it
- Send options – Send immediately or schedule for a specific date and time
Double-check the recipient count and subject line. When everything looks right, click Send Campaign to deliver your email. PawnCRM will process the send through your connected provider and update the campaign status in real time.
Tips for Effective Email Campaigns
- Segment your audience – Send targeted messages to specific groups rather than blasting your entire contact list
- Write compelling subject lines – Keep them under 50 characters and make the value clear
- Test before sending – Use the preview to check formatting on desktop and mobile
- Monitor your metrics – Check open rates and click rates in the campaigns hub after sending
- Follow up – Use PawnCRM’s SMS campaigns or chat to follow up with engaged contacts
- Stay consistent – Regular, valuable emails build trust and keep your brand top of mind
What Can You Do Next?
Now that you have mastered email campaigns, explore more PawnCRM features:
- Send SMS Campaigns – Reach contacts instantly with text message campaigns
- Manage Your Contacts – Organize and segment your contact lists
- Chat and Messaging – Communicate with contacts in real time
- Dashboard Overview – Track your CRM performance at a glance
Related Articles
Continue exploring PawnCRM with these guides: